
The Martinsons are moving! After two years in the gloriously walkable, bustling, crowded New York City, my husband and 10-month-old and I are packing our things to head to the Garden State, that lovely land of New Jersey. While I’ve loved this chapter of life in the Big Apple, I’m looking forward to being close to my in-laws and having our very own backyard. In the meantime, I’ve been working on the packing process, which has not only renewed my appreciation for the items we own but also re-introduced me to an unpleasant resident in every home: dust.
With every shelf I’ve cleared off and every box I’ve filled so far, a new layer of dust finds itself disturbed, entering the air and triggering a sneeze fest! It’s led me to wonder what the best strategies and tools for dealing with dust are — not only while moving, but also in day-to-day life.
Why deal with dust?

It’s almost impossible to get rid of every speck of dust, and for those of us without severe allergies, that’s ok. To a certain extent, peaceful coexistence with dust and dust mites is part of everyday life, especially when you have a lively household. Where people gather, it’s only natural that they will leave traces of dirt from their shoes, crumbs from their plates, and particles of their hair and skin.
Trying to scrub every inch of the home of these particles would be unreasonable, and thinking too much about them can lead to minor paranoia (as I definitely experienced while researching and writing this post!).
At the same time, this does not mean that dust should be left alone and forgotten entirely. Though it’s not easily visible, over time dust can have a big impact on the look, feel, and comfort of home. As it accumulates, it will irritate anyone’s nose and lungs, but especially those with allergies. If neglected, dust can also lead to worse problems, such as the development of allergies or the congregation of unwelcome insects and other pests.
Besides avoiding disasters, keeping the home well-dusted and aired makes it physically more comfortable, which in turn will make it more restful and pleasant for you and everyone else in it.
Tools for dusting

As my Grandpa used to say, “You gotta have the right tools!” When it comes to dusting, improper tools will only succeed in kicking up dust around around the room rather than getting rid of it. And that, of course, would be a frustrating waste of time and energy.
Among the books and articles I’ve read on this topic, there are a few basic tools that they recommend:
- Dusting cloths – By and large, microfiber is the recommended material because of its effectiveness in picking up dirt without redistributing it. Cotton is also effective. Either way, a flat cloth without embroidered surfaces or loose threads (which can cause abrasion and snagging) will get the job done.
- Dusting pole – This is handy for those hard-to-reach areas such as ceiling fan blades, blinds, or top shelves. Again, microfiber is an excellent choice, and a removable cloth for washing is a must.
- Vacuum – Choose one that filters dust well (ideally a high-efficiency particulate air, or HEPA, filter). It’s also helpful to have different suction-level settings so that you can easily work on various surfaces. This article from New York Magazine has several recommendations. I have the Miele Grey Classic; I like the extension hose and different attachment options. For furniture, crevices, and quick cleanups, a handheld vacuum or small upholstery vacuum attachment is helpful.
- Dusting mop – A slightly damp mop can remove a thin layer of dust that a vacuum can’t suction away. There are various kinds, and any that has a cotton head that can be removed and washed works well. At the same time, I am a big fan of the Swiffer, which is easy and can work with disposable damp or dry cloths. (A note about the wet cloths: try ringing them out first before attaching them; I’ve found that they don’t work as well when sopping-wet).
- Broom – I keep one of these in my kitchen for quick cleanups after cooking and eating. Home Comforts author Cheryl Mendelson recommends frequent quick sweeps in highly trafficked areas such as the kitchen, playroom, or utility room. It’s faster than vacuuming and makes the job easier when it’s time for a more thorough clean with the vacuum or mop. Use a tall broom with sturdy bristles that will gather crumbs easily, and brush them into a dustpan using a handheld brush (or upright brush if you need to avoid stooping down). For nicer floors that will scratch easily, use a mop or vacuum instead.
How to dust a room
Frequency: Cleaning experts recommend dusting at least once a week. In high-use areas like the kitchen or dining room table, try to foster a “clean as you go” mentality so that a mess doesn’t pile up all week, creating a big job on dusting day! Quick sweeps after cooking and wiping down the table after meals are a few strategies. I also try to vacuum the rug where my baby plays and leaves crumbs at the end of the day (this is where a portable, battery powered vacuum is especially handy!).
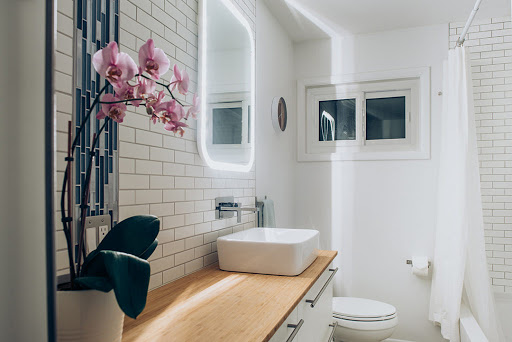
Order: As with cleaning a bathroom, work from top to bottom in order to capture all the dust that falls to the floor. A dusting procedure might look something like this:
- ceiling fan blades – dust pole
- picture frames and other wall hangings – dust cloth
- shelves – dust cloth
- tables – dust cloth
- other furniture – dust cloth / vacuum
- floor – dust cloth, vacuum, (dust mop)
When you’ve reached the floor, there are a few options: working by hand, just dust mopping, just vacuuming, or a combo. My preferred strategy is to use a dust cloth for the nooks and crannies close to the floor, then vacuum the floor. If I’m working on a hardwood or tile floor and I have time, I like to finish off with the Swiffer to grab that final layer of dust and leave a nice polish.
Mendelson recommends starting from the farthest corner of the room and working your way toward the door. When using the dust cloth, dampen it slightly and use circular motions with slight pressure. Fold it into fourths so that as one side gets dirty, you can switch to another clean side.
Dusting by hand
Getting on our hands and knees to wipe a floor is effective cleaning and good exercise, but only when we also take care of our knees and backs! In order to avoid the painful condition known as housemaid’s knee, Mendelson encourages homemakers to kneel on something soft. If you prefer to avoid bending over, experiment with mops and brooms to get the floor as clean as you can without over-exerting yourself.
Warding off dust

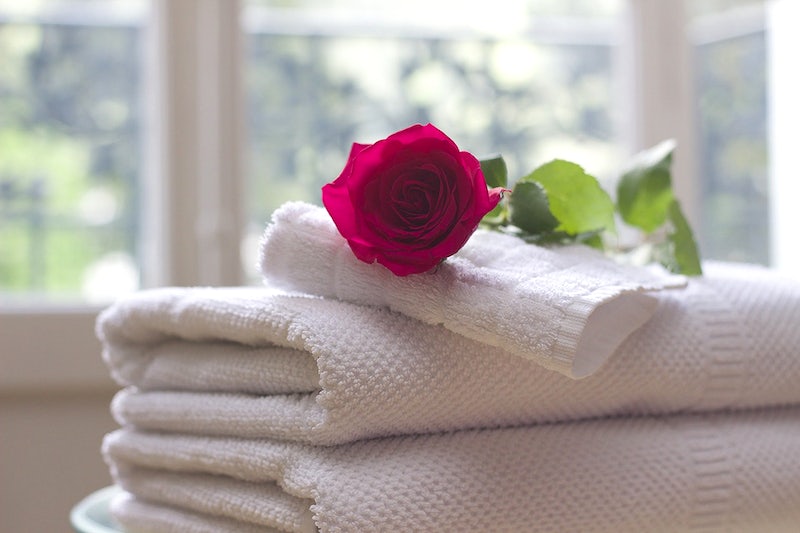
The best way to prevent dust from piling up is to wash items frequently and keep rooms well-ventilated. Particularly in bedrooms (where dust mites tend to gather), keep the temperature cool (ideally below 70 degrees Fahrenheit) and relative humidity low (ideally at or below 45 percent). Wash sheets, pillowcases, and comforters regularly.
I try to switch out the sheets once a week; with two sets of sheets for the bed, that means I only need to wash sheets every other week. Keep doors open to help air flow, and in nice weather open a window or two.
I hope these suggestions help demystify dust so that we can more effectively keep our rooms clean and comfortable. That way, whenever we step inside, we can literally breathe easily!
Resources
“Dust and Dust Mites,” Cheryl Mendelson (Home Comforts)
“How to Get Rid of Dust, According to Cleaning Experts,” Lori Keong, Liza Corsillo, and Jenna Milliner-Waddell (New York Magazine)
“Vacuuming, Sweeping, and Dusting,” Cheryl Mendelson (Home Comforts)


